はじめに
今回は WWDC24 で発表された新機能 Control Center Customization について調べた内容を簡単にまとめたいと思います
また、合わせて簡単なサンプルの実装もしてみようと思います
Control Center Customization とは
WWDC24 で発表された iOS 18, iPadOS 18 で利用可能になる新機能になります
コントロールセンターのレイアウトをユーザーが自由にカスタマイズできるようになりました
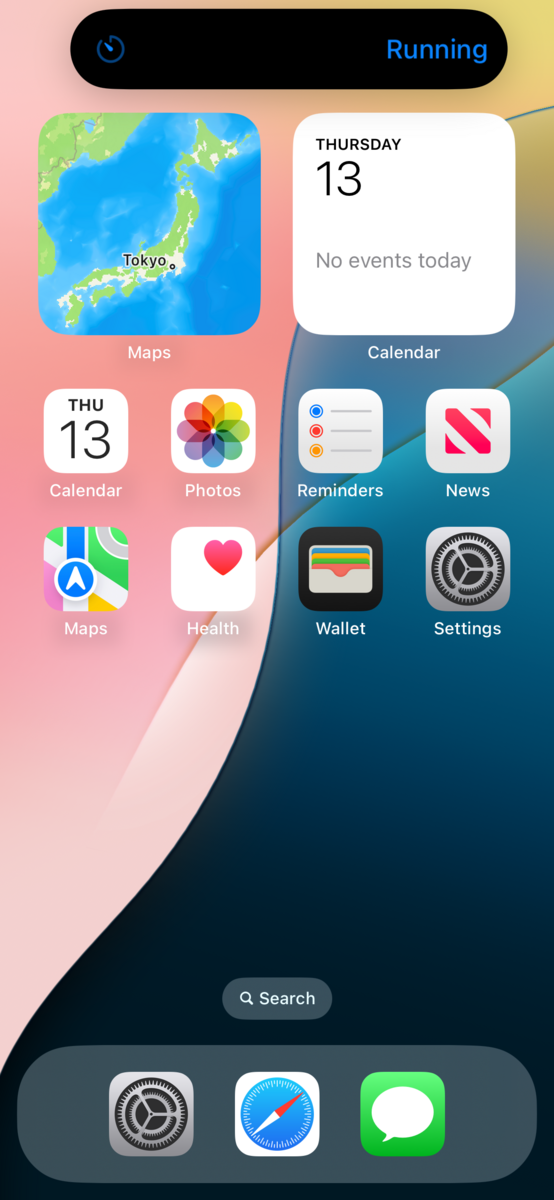
また、ユーザーはアプリが提供する ControlWidget を以下の3つの箇所で自由に追加することができ、また ControlWidget を操作することでアプリを起動せずにアプリの機能を実行したり、アプリを起動して特定の画面を開くことができるようになりました
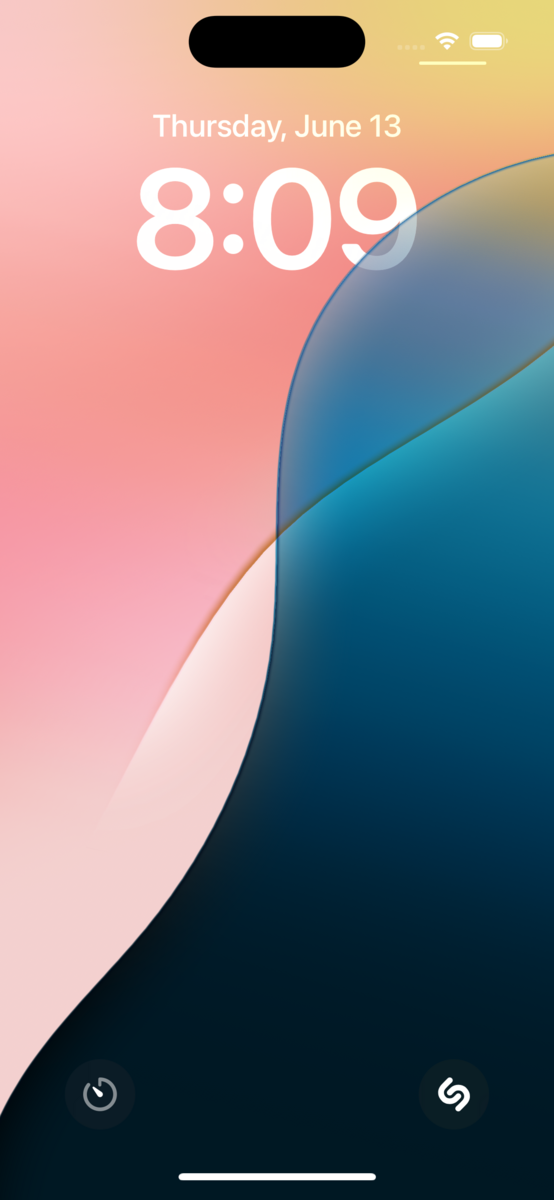
- コントロールセンター
- ロック画面
- アクションボタン
- ダイナミックアイランド で表示されます
| コントロールセンター | ロック画面 | ダイナミックアイランド |
|---|---|---|
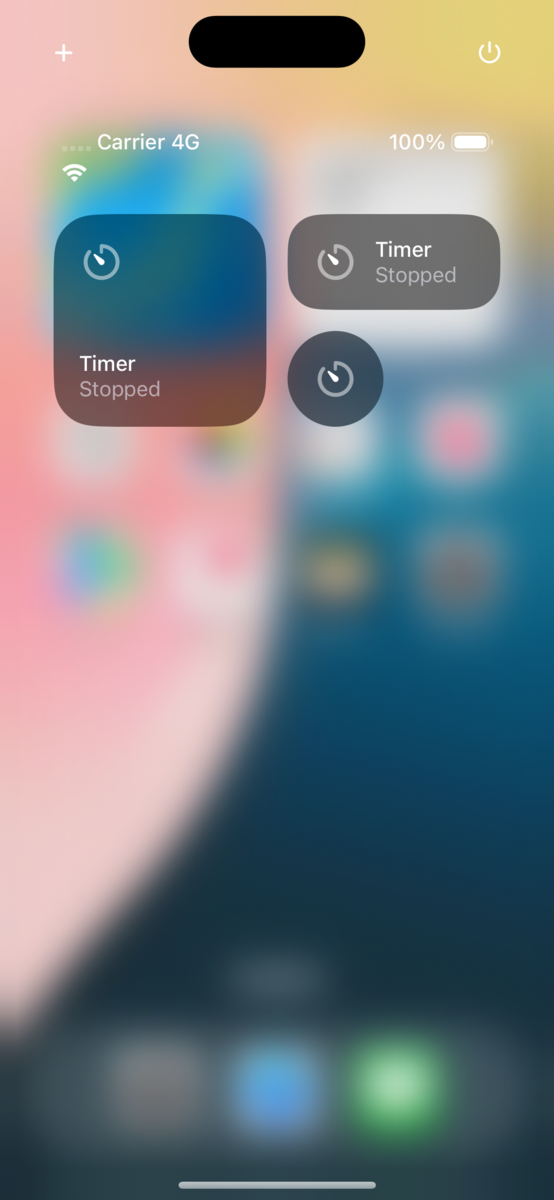 |
 |
 |
ControlWidget のデザイン
ControlWidget は Symbol Image、Title、Value の3の要素で構成されています
- Symbol Image
- ControlWidget の動作を視覚的に表現する
- Title
- ControlWidget が何に関連しているのか説明する
- Value (任意の値になります)
- ControlWidget の状態を表現する
以下、Human Interface Guidelines / Anatomy で掲載されている図になります
Symbol Image にはライトのアイコン、Title には部屋のライトの名前、Value にはライトの状態 (On /Off) を表現しています

補足
ControlWidget に表示可能な要素は表示場所によって異なります
コントロールセンターでは3つのサイズで表示可能ですが、最小サイズの場合は Symbol Image のみ表示可能となっています
ControlWidget の種類
2種類の ControlWidget が提供されています
1. ControlWigetToggle
@MainActor @preconcurrency
struct ControlWidgetToggle<Label, ValueLabel> where Label : View, ValueLabel : View
- ControlWigetToggle は Toggle のように「オン」と「オフ」の2つの状態を持っている ControlWidget です
- 「オン」と「オフ」それぞれの状態で異なる処理を実行するような場合に使用されます
- 例えばタイマー機能では、「オン」状態ではタイマーを開始する、「オフ」状態ではタイマーを停止するといったような使い方になります
2. ControlWidgetButton
@MainActor @preconcurrency
struct ControlWidgetButton<Label> where Label : View
- ControlWidgetButton は状態を持っておらず、ただ処理を実行する ControlWidget になります
- サウンドを再生する、アプリを起動して特定の画面を開くような場合に使用されます
+α
また、上記2種類に加えて Configuration も2種類提供されています
1. StaticControlConfiguration
@MainActor @preconcurrency
struct StaticControlConfiguration<Content> where Content : ControlWidgetTemplate
- StaticControlConfiguration はユーザーがカスマイズ不可な ControlWidget を提供する場合に使用されます
- ControlWidget はユーザーが ControlGallery から追加した直後から利用可能になります
2. AppIntentControlConfiguration
@MainActor @preconcurrency
struct AppIntentControlConfiguration<Configuration, Content> where Configuration : ControlConfigurationIntent, Content : ControlWidgetTemplate
- AppIntentControlConfiguration はユーザーがカスマイズ可能な ControlWidget を提供する場合に使用されます
- ControlWidget 追加時に実装したカスマイズ可能な設定値の入力するダイアログが表示されます
- すべての設定の入力が完了後、ControlWidget は利用可能になります
サンプル実装
今回はタップすると BGM を再生する ControlWidget を実装してみます また、再生する BMG はユーザーが選択できるようにします
環境
- Xcode 16 beta
- iOS 18.0 (Simulator)
Step1. プロジェクトの作成と WidgetExtension を追加する
- こちらについては以下の記事の 1 ~ 5 で解説されてますので割愛させていただきます
Step2. 再生する BGM の種類を定義する
// ①
enum BGMType: String, CaseIterable {
    /// 焚き火
    case bonfire
    /// 雨
    case rain
    var audioFileURL: URL {
        switch self {
        case .bonfire:
            // 音声ファイルのパス
        case .rain:
            // 音声ファイルのパス
        }
    }

}

// ②
extension BGMType: AppEnum {

    // リストのタイトルの表示
    static var typeDisplayRepresentation = TypeDisplayRepresentation(name: "BGM")
    // リストのアイテムの表示
    static var caseDisplayRepresentations: [BGMType: DisplayRepresentation] = [
        .bonfire: "Bonfire",
        .rain: "Rain"
    ]

}
- ① では BGM として再生する種類を定義しています
- 今回は焚き火の音と雨の音の2種類をユーザーが選択できるようにします
- ② では BGMType が Step3 の Configuration で使用可能にするため AppEnum に準拠しています
Step3. ControlWidget を実装する
// ①
struct BGMPlayerButton: ControlWidget {

    private let kind: String = "<com.xxxx.xxxx.xxxx>"

    var body: some ControlWidgetConfiguration {
        AppIntentControlConfiguration(kind: kind, provider: Provider()) { value in

            let action = BGMPlayerButtonIntent(bgmType: value.bgmType)

            ControlWidgetButton(action: action) {
                // Symbol Image
                Image(systemName: "music.quarternote.3")
                    .symbolEffect(.bounce)
                // Title
                Text("BGM Player")
                // Value
                Text("\(value.bgmType.rawValue.capitalized)")
            }
        }
        .displayName("BGM Player") // ControlGalleryで表示される名前
        .description("Please select the BGM to play") // カスタマイズに表示される説明文
    }

}

// ②
extension BGMPlayerButton {

    struct Value {
        var bgmType: BGMType = .bonfire
    }

    struct Provider: AppIntentControlValueProvider {

        typealias Configuration = BGMPlayerButtonConfiguration
        func previewValue(configuration: Configuration) -> Value {
            Self.Value()
        }

        func currentValue(configuration: Configuration) async throws -> Value {
            Self.Value(bgmType: configuration.bgmType)
        }
    }

}

// ③
struct BGMPlayerButtonConfiguration: ControlConfigurationIntent {

    static let title: LocalizedStringResource = "BGMPlayerButtonConfiguration"

    // カスタマイズできる設定値
    @Parameter(title: "BGM", optionsProvider: BGMOptionsProvider())
    var bgmType: BGMType
    struct BGMOptionsProvider: DynamicOptionsProvider {
        func results() async throws -> [BGMType] {
            return BGMType.allCases
        }
    }

}

// ④
struct BGMPlayerButtonIntent: AppIntent {

    static let title: LocalizedStringResource = "Play BGM"

    @Parameter(title: "BGM")
    var bgmType: BGMType
    init() {}

    init(bgmType: BGMType) {
        self.bgmType = bgmType
    }

    // 操作時に呼ばれる
    func perform() async throws -> some IntentResult {
        // ここで BGM を再生する
        try await AudioPlayManager.shared.playBackgroundMusic(for: bgmType)
        return .result()
    }

}
- ① ではタップすると BGM が再生される ControlWidget を定義しています
- 今回は操作時に BGM を再生をするだけなので ControlWidget の種類は ControlWidgetButton にします
- また、ユーザーが BGM を選択できるようにするため AppIntentControlConfiguration で作成します
- ② では プレビューで表示される値と実際に ControlWidget に表示される値を定義しています
- currentValue は ControlWidget が表示または更新されるタイミングで呼ばれます
- ③ ではユーザーがカスマイズできる設定値を定義しています
- 今回は BGM を選択できるようにしたいので BGMType のみ追加します
- ④ では ControlWidget 操作時の処理を定義しています
- perform は ControlWidget が操作されるタイミングで呼ばれます
Step4. BGM を再生する機能を実装する
// ①
final class AudioPlayManager: NSObject {

    static let shared = AudioPlayManager()

    private override init() {}

    private var audioPlayer: AVAudioPlayer?

    private var activeContinuation: CheckedContinuation<Void, Error>?

    func playBackgroundMusic(for type: BGMType) async throws {

        if let audioPlayer, audioPlayer.isPlaying {
            audioPlayer.stop()
            activeContinuation?.resume()
        }

        return try await withCheckedThrowingContinuation { continuation in
            activeContinuation = continuation

            do {
                audioPlayer = try AVAudioPlayer(contentsOf: type.audioFileURL)
                audioPlayer?.delegate = self
                audioPlayer?.prepareToPlay()
                audioPlayer?.play()
            } catch {
                activeContinuation?.resume(throwing: error)
            }
        }

    }

}

extension AudioPlayManager: AVAudioPlayerDelegate {

    func audioPlayerDidFinishPlaying(_ player: AVAudioPlayer, successfully flag: Bool) {
        activeContinuation?.resume()
    }

    func audioPlayerDecodeErrorDidOccur(_ player: AVAudioPlayer, error: (any Error)?) {
        if let error {
            activeContinuation?.resume(throwing: error)
        }
    }

}
- ① では AVAudioPlayer を使用して BGM を再生する機能を定義しています
- BGM の終了と ControlWidget のアクションの終了を同じタイミングにしたいので CheckedContinuation を使用しています
Step5. WidgetBundle に ControlWidget を追加する
@main
struct WidgetsBundle: WidgetBundle {

    var body: some Widget {
        // ①
        BGMPlayerButton()
    }

}
- ① では 今回作成した WidgetControl が利用できるように追加しています
- もし他の Widget や LiveActivity などがあれば同じように追加します
動作確認
以上のステップでサンプル実装は完了になります
最後にビルドして今回作成した ControlWidget をコントロールセンターに追加して動作を確認してみます

期待通り、ControlWidget 追加時に BGM の選択ができ、タップすると選択した BGM が再生できました!
おわりに
今回の新機能 Control Center Customization はアプリに上手く取り入れることでユーザー体験を向上させることができると感じました
また、Best practices にも記載されていますが LiveActivity も活用するとさらに良くなりそうにも感じました